-

The Ballscrew Specialists
We offer unrivalled product & application knowledge and can supply ballscrew products of any size or type.
read more -

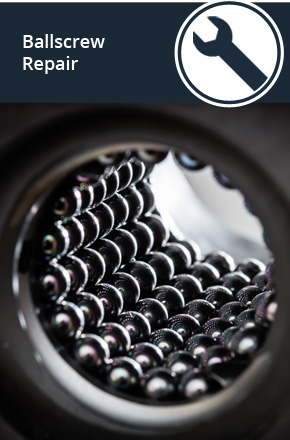
Ballscrew
RepairCertified Ballscrew Repairs in 24 hours. Free condition report supplied. Any ballscrew of any type or origin.
read more -

“We CAN solve your ballscrew problem”
We are confident that whatever your ballscrew
problem, we can solve it for you
read more -

Ballscrew Upgrades
Upgrade your Ballscrew for an increase in operating life of 35% (minimum) - giving enhanced productivity.
read more -

Miniature
LeadscrewsWe carry a range of miniature leadscrews and nuts to suit numerous applications in various industries
read more